

Creating a web app from start to finish
Matt here. Let’s build a complete web app from scratch — branding, feature building, logging, emails, notifications, tests, and deployment.
Before we get into it: this is not a v3-style tutorial where I walk you through every file change. Petal Pro v4 ships with CLAUDE.md files throughout the project that give Claude Code full context about the architecture, conventions, and patterns. Your job is to describe what you want. Claude builds it. You review, understand, and steer. That’s the workflow we’ll follow.
ℹ️ Note: This tutorial was written using Petal Pro v4
What you’ll learn
We’re building “Financy” — a personal finance tracker. Along the way:
- Branding — Logo generation and color theming with one Claude command
- Feature building — How to describe a feature and let Claude build it
- Layouts & menus — Adding pages to the sidebar
- Logging — Track user actions with the built-in logging system
- Emails — Monthly summary emails scheduled with Oban
- Notifications — In-app and email alerts
- Testing — Fixing and extending generated tests
- Deployment — Ship to Fly.io
Getting up and running
What you need
- Access to Petal Pro (petal.build)
- Elixir & Erlang installed — see our installation guide
-
PostgreSQL running — Postgres.app for Mac, or use the included
docker-compose.yaml -
For deployment (optional): a Fly.io account and an email provider (Resend is the easiest — set
MAIL_PROVIDER=resend)
Download
Head to the projects page, create a project, and download the latest version. Unzip it.
Rename
mv petal_pro_4.0.0 financy
cd financy
You don’t need to rename the internal module names — keeping them as PetalPro makes it easier to pull in future Petal Pro updates.
Get it running
mix setupThen open Claude Code and ask it to start the server:
start the serverClaude reads the CLAUDE.md and knows exactly what to do:
⏺ Bash(tmux kill-session -t petal_pro 2>/dev/null; tmux new-session -d -s petal_pro "iex -S mix phx.server")
  ⎿  (No output)
⏺ Server's up in the petal_pro tmux session. Give it a few seconds to compile,
  then hit localhost:4000. Attach with tmux attach -t petal_pro if you need IEx.
Claude knew to use tmux — it read the CLAUDE.md
Navigate to http://localhost:4000. You’ll see the default Petal Pro landing page — blue buttons, Petal logo. Let’s brand it before we go any further.
Adding your brand
Petal Pro ships with a /generate-brand command that generates all your logo files from a short description in docs/branding.md. Open that file and fill it in:
## App name
Financy

## Tagline (optional, used in OG image)
Personal assets visualised

## Primary brand color (hex)
#10b981

## Icon style
A dollar sign done in a pixelated way.
Then in Claude Code:
/generate-brand
Claude designs an icon and generates all six files (logo_dark.svg, logo_light.svg, logo_icon_*.svg, favicon.svg, open-graph.png) into priv/static/images/. Don’t like it? Tweak “Icon style” and run it again.
Also update config.exs with your app details (search for SETUP_TODO):
config :petal_pro,
  app_name: "Financy",
  business_name: "Financy Pty Ltd",
  support_email: "support@financy.app",
  mailer_default_from_name: "Financy",
  mailer_default_from_email: "support@financy.app",
  logo_url_for_emails: "https://yourcdn.com/financy-logo.png",
  seo_description: "Personal finance management — track income, expenses, and build toward your goals"
And swap the colors in assets/css/colors.css — replace blue with emerald and pink with slate. Emerald makes sense for a finance app.
Restart the server, reload the browser:
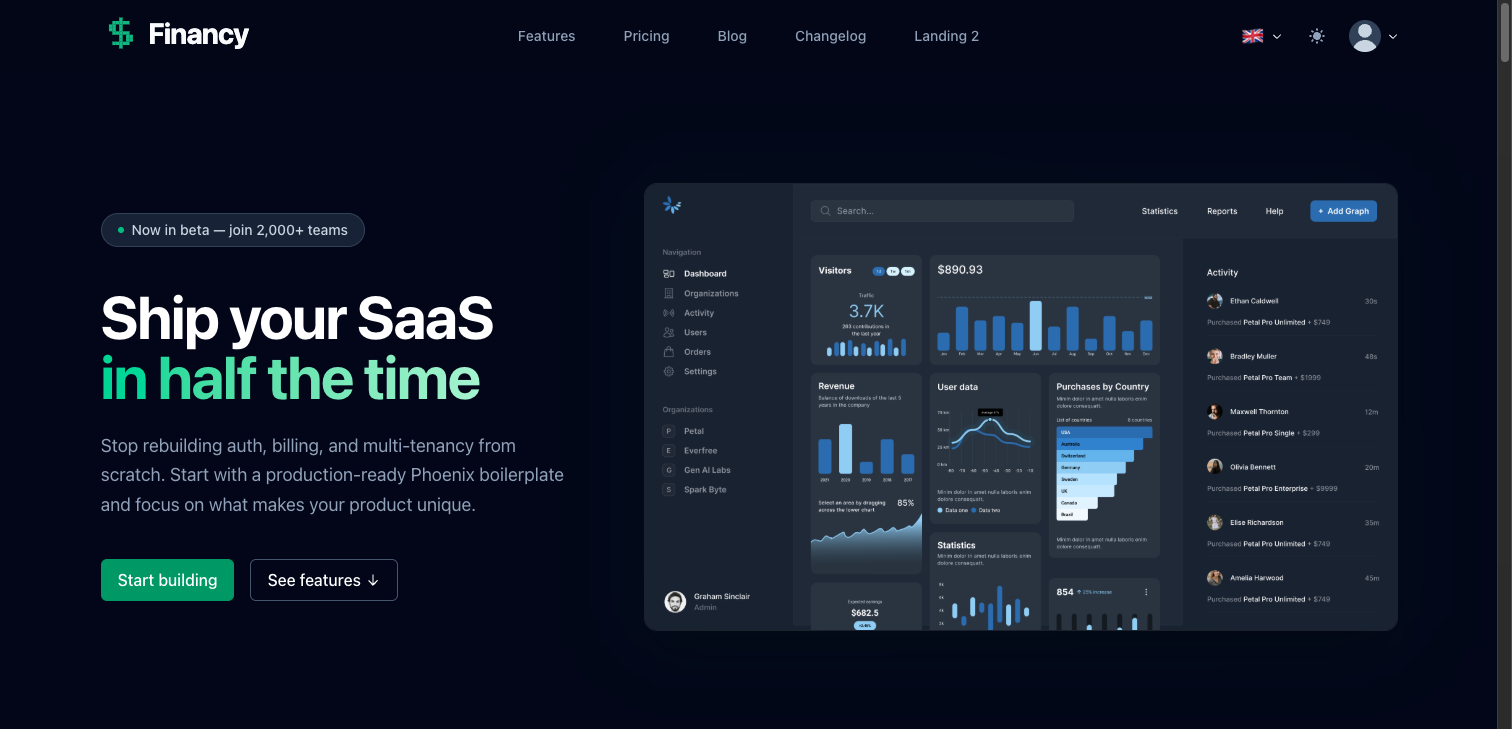
Landing page after branding — Financy pixel-dollar logo, emerald CTA
ℹ️ Email logo: The logo in emails must be a public URL — email clients can't load local files. Once you're happy with the logo, upload logo_for_emails.png to Cloudinary, S3, or your CDN and paste the URL into logo_url_for_emails in config.exs.
The other SETUP_TODOs cover license and privacy policy content — skip those for now, they’re not needed until you go live.
Explore what’s included
Before building, take five minutes to understand what Petal Pro already gives you. Ask Claude:
give me a quick overview of what's included in this project⏺ Based on the CLAUDE.md files, here's what's already built:
Auth — Email/password with confirmation, passwordless PIN login, Google and GitHub
OAuth, TOTP 2FA. All methods can coexist on the same account.
Admin panel — /admin with user management, org management, real-time activity
logs, email template previewer, database schema visualizer, and route explorer.
Multi-tenancy — Full org system with invitations, roles (owner/admin/member),
and slug-based routing under /app/org/:org_slug/.
User settings — Profile, email change, password, 2FA, notification preferences,
GDPR data export and account deletion.
Background jobs — Oban with default and billing queues. Built-in daily workers
for GDPR cleanup and purging expired invitations.
Notifications — In-app notification bell + email delivery, per-type user
preferences, real-time PubSub updates.
Billing — Full Stripe integration, configurable per user or per org.
Blog/CMS — Editor.js rich content editor, drafts, categories.
Sign in with admin@example.com / password and click around. A few things worth seeing:
The admin panel — Click your avatar → Admin. The Logs tab is where user activity ends up — you’ll add to it shortly. Dev → Email templates lets you preview every transactional email. The database schema visualizer generates an interactive ER diagram of your whole schema.
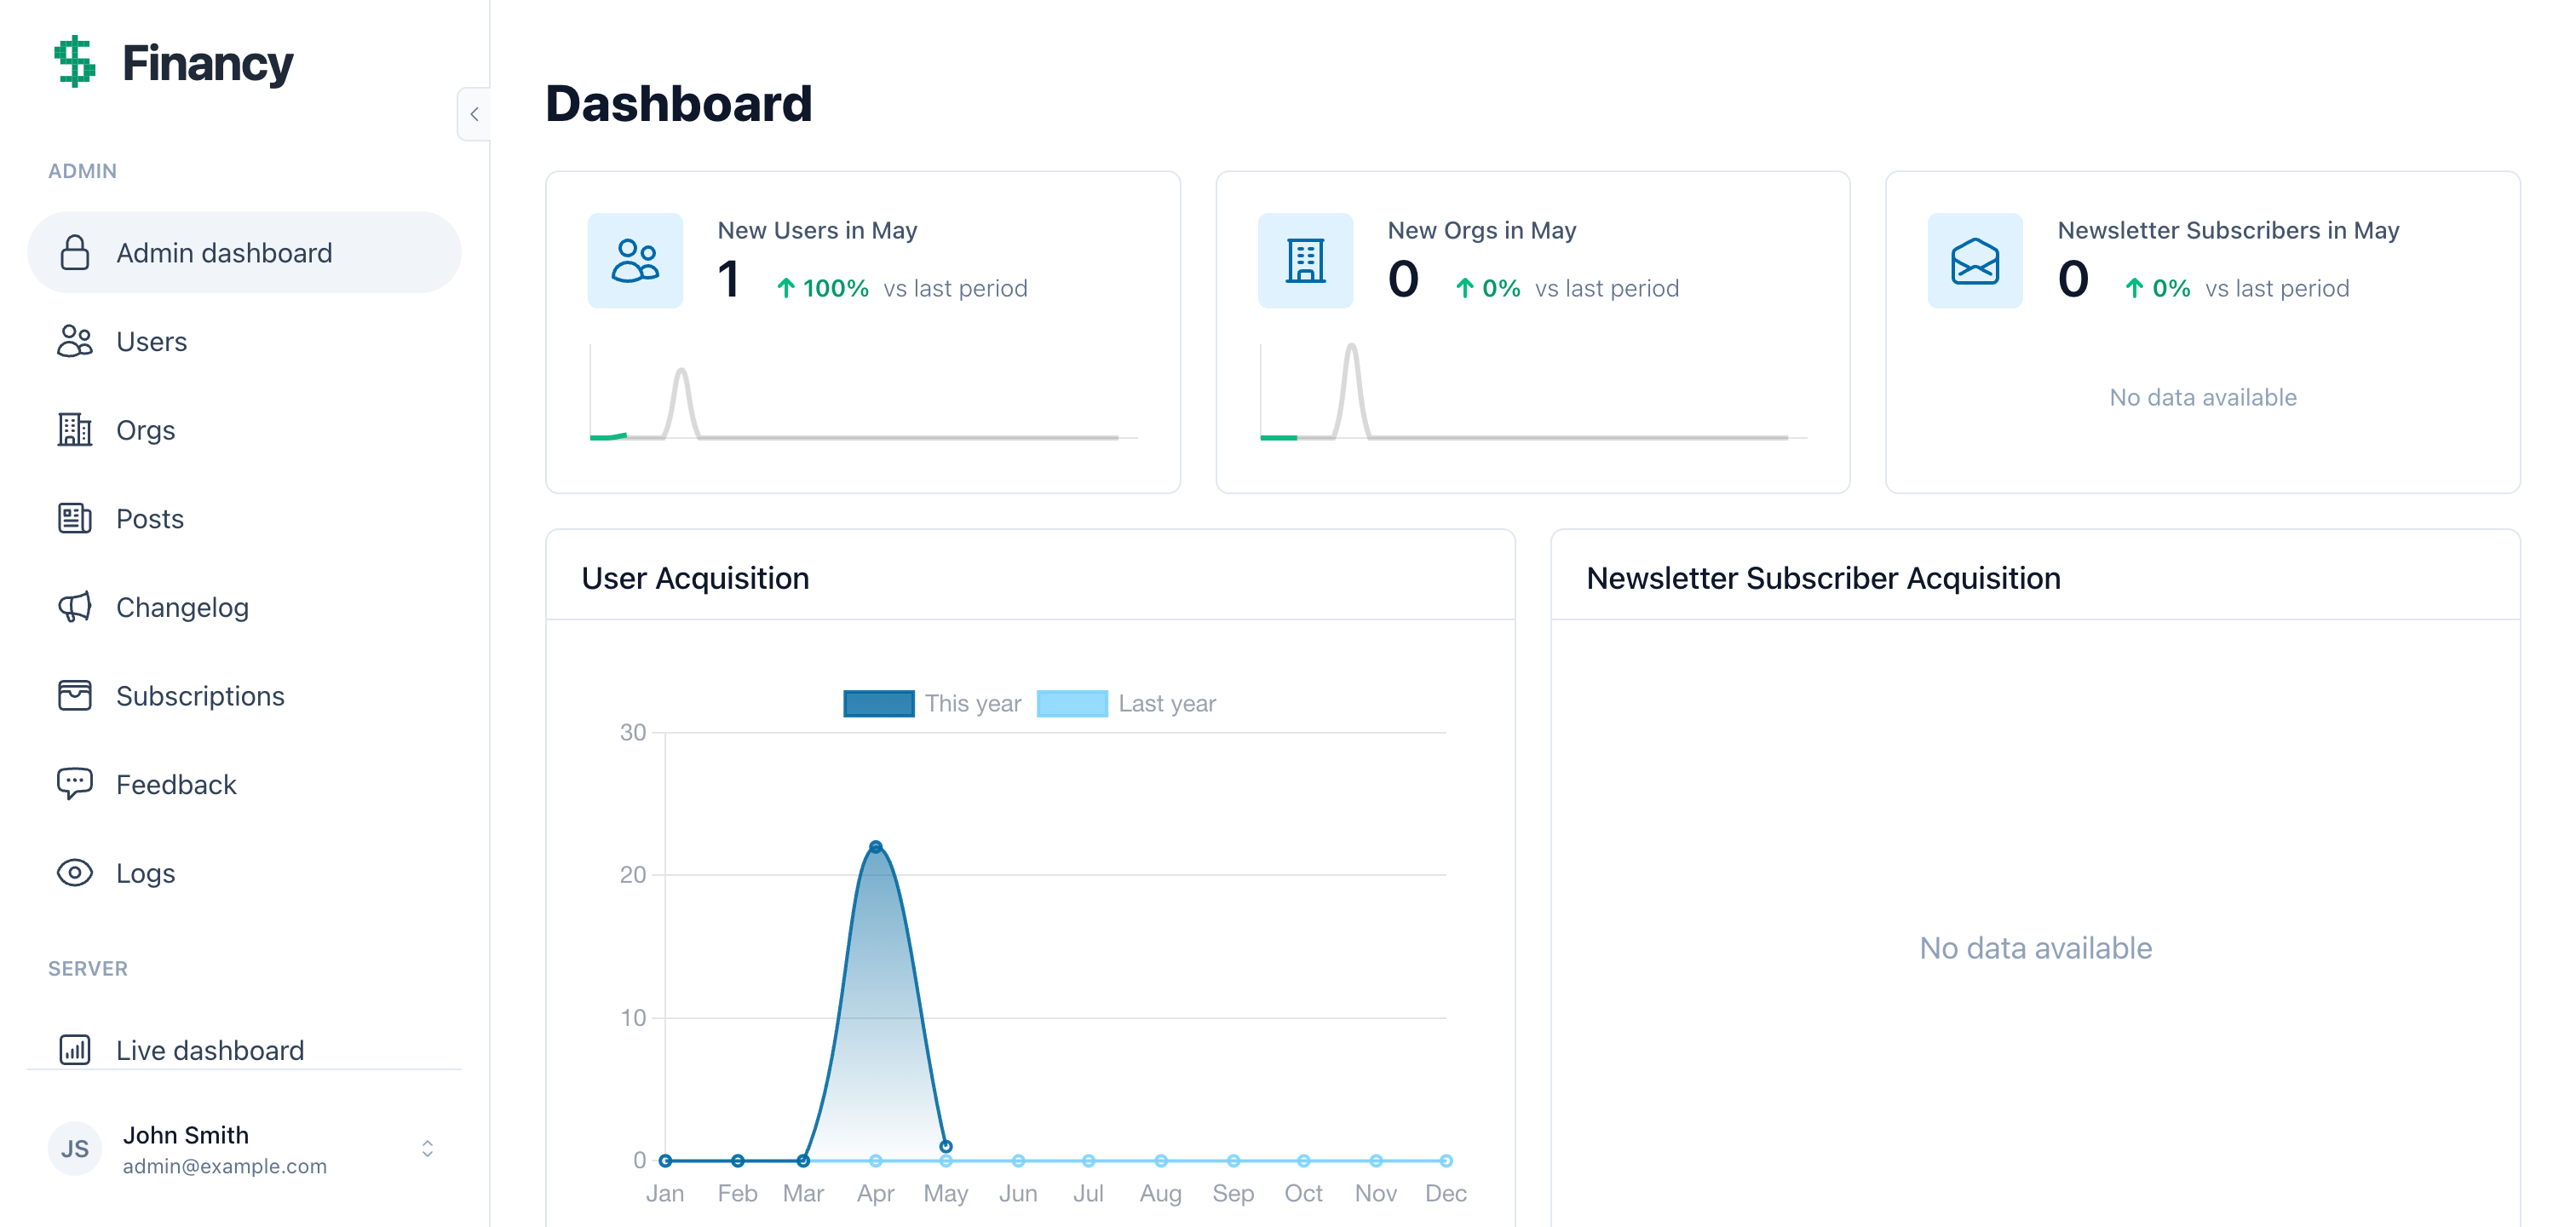
Admin panel — logs, users, orgs, dev tools
Authentication — Before signing in, notice the auth options. Passwordless, email/password, OAuth. All built, all working.
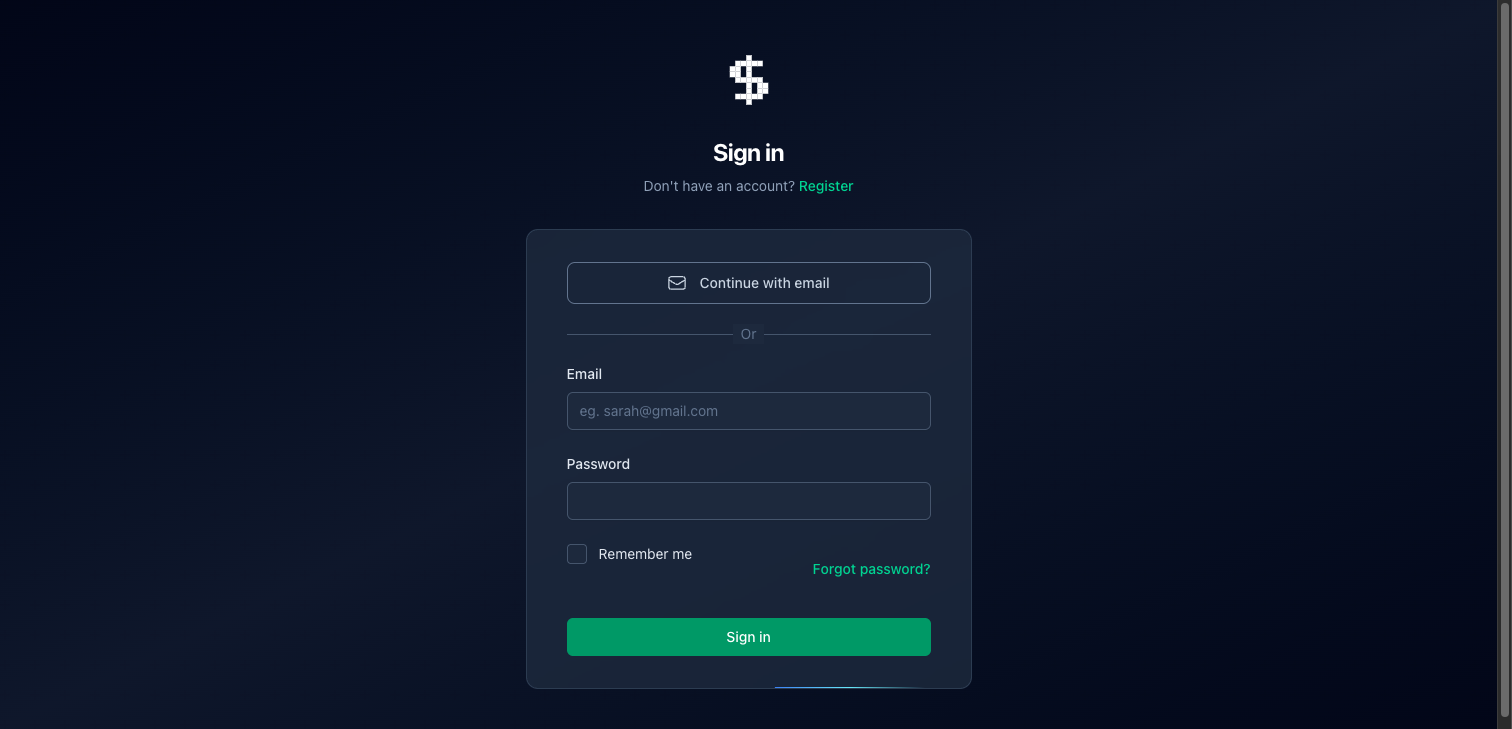
Multiple auth methods — all configured, nothing to build
The sidebar layout — Once signed in you’ll see the collapsible sidebar with user profile, notification bell, and navigation. This is the layout you’ll wrap your own pages in.
The signed-in layout — sidebar, notification bell, user profile
Organizations — Full multi-tenancy. For Financy we’ll scope transactions to individual users, but if you were building a team product, you’d put everything under /app/org/:org_slug/ instead.
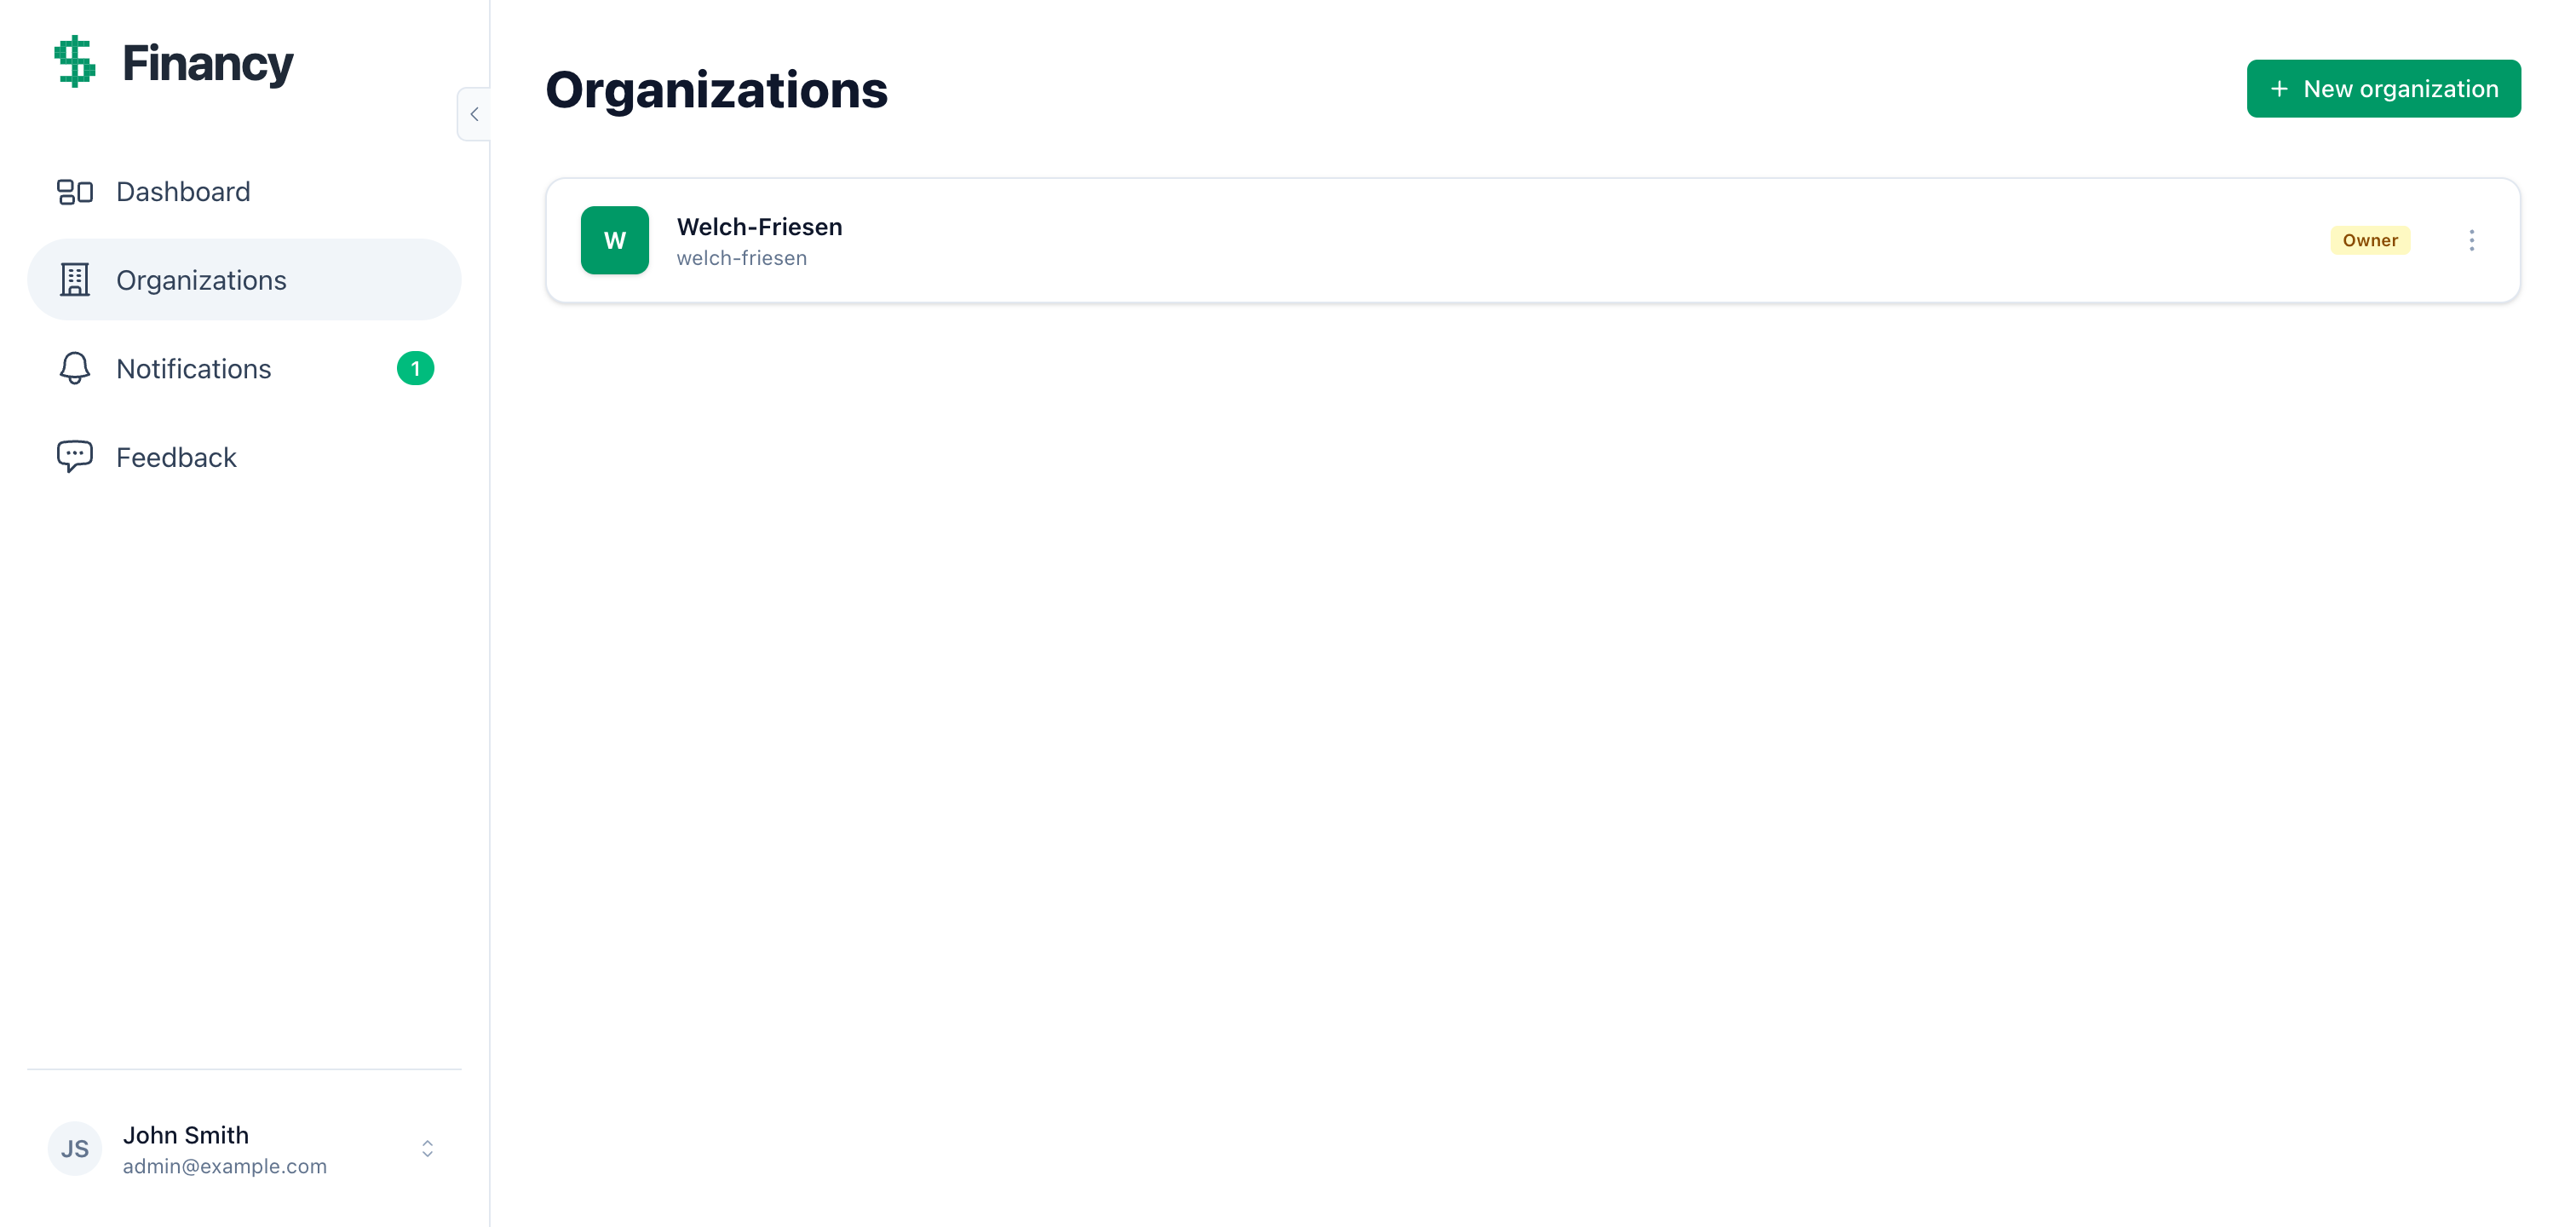
Orgs — multi-tenancy ready to use if you need it
Settings — Profile, email, password, 2FA, notification preferences, GDPR data export. None of this needs building.

User settings — fully built
That’s the lay of the land. Now let’s build the actual product.
The transactions page
Tell Claude what you want
Build a transaction tracker for Financy. Users should be able to log income and
expenses. Each transaction needs: a description, an amount (decimal), a type that's
either "income" or "expense", and a date. Transactions belong to the current user
and should only be visible to that user. Use the data table generator for the index.
Claude reads the CLAUDE.md files — they describe the conventions, the generator, how user-scoping works, how menus are structured — and gets to work:
⏺ Here's my plan before I start:

  1. Run mix petal.gen.live Finance Transaction transactions with the right fields
  2. Fix the schema — belongs_to :user instead of field :user_id, add validations
  3. Add has_many :transactions to the User schema
  4. Scope the index query to the current user via Ecto.assoc
  5. Inject user_id on create (never from the form)
  6. Swap the type field to a select dropdown (income/expense)
  7. Default the date to today
  8. Add routes under the /app scope
  9. Wrap pages in the sidebar layout
  10. Add the :transactions menu item and update home_path

  Running the generator...

⏺ Bash(mix petal.gen.live Finance Transaction transactions description:string amount:decimal type:string date:date user_id:references:users --data-table)
  ⎿  * creating lib/petal_pro_web/live/transaction_live/...
     * creating lib/petal_pro/finance/transaction.ex
     * creating priv/repo/migrations/20260503_create_transactions.exs

⏺ Bash(mix ecto.migrate)
  ⎿  Migrated 20260503_create_transactions in 0.0s

⏺ Write(lib/petal_pro/finance/transaction.ex) — fixed schema, belongs_to, validations
⏺ Edit(lib/petal_pro/accounts/user.ex) — added has_many :transactions
⏺ Edit(lib/petal_pro_web/live/transaction_live/index.ex) — scoped to current_user
⏺ Edit(lib/petal_pro_web/live/transaction_live/form_component.ex) — user_id injection
⏺ Edit(lib/petal_pro_web/live/transaction_live/form_component.html.heex) — select dropdown
⏺ Edit(lib/petal_pro_web/router.ex) — added routes under /app
⏺ Edit(lib/petal_pro_web/live/transaction_live/index.html.heex) — sidebar layout, fixed paths
⏺ Edit(lib/petal_pro_web/live/transaction_live/show.html.heex) — sidebar layout, fixed paths
⏺ Edit(lib/petal_pro_web/menus.ex) — added :transactions get_link, updated sidebar_menu_items
⏺ Edit(lib/petal_pro_web/helpers.ex) — updated home_path to /app/transactions

⏺ Done. Navigate to http://localhost:4000/app/transactions.
A few of those decisions are worth understanding:
belongs_to :user not field :user_id — The generator creates field :user_id, :binary_id. That works but doesn’t set up the Ecto association. belongs_to lets you use Ecto.assoc/2 for scoped queries and preload the user efficiently.
Ecto.assoc(current_user, :transactions) — This is how the index query stays scoped to the signed-in user. It builds the query starting from the user association, not from all transactions.
user_id is injected, not cast — The form never exposes user_id as a field. It’s added programmatically on create: Map.put(params, "user_id", current_user.id). Never let the client dictate ownership.
See it working
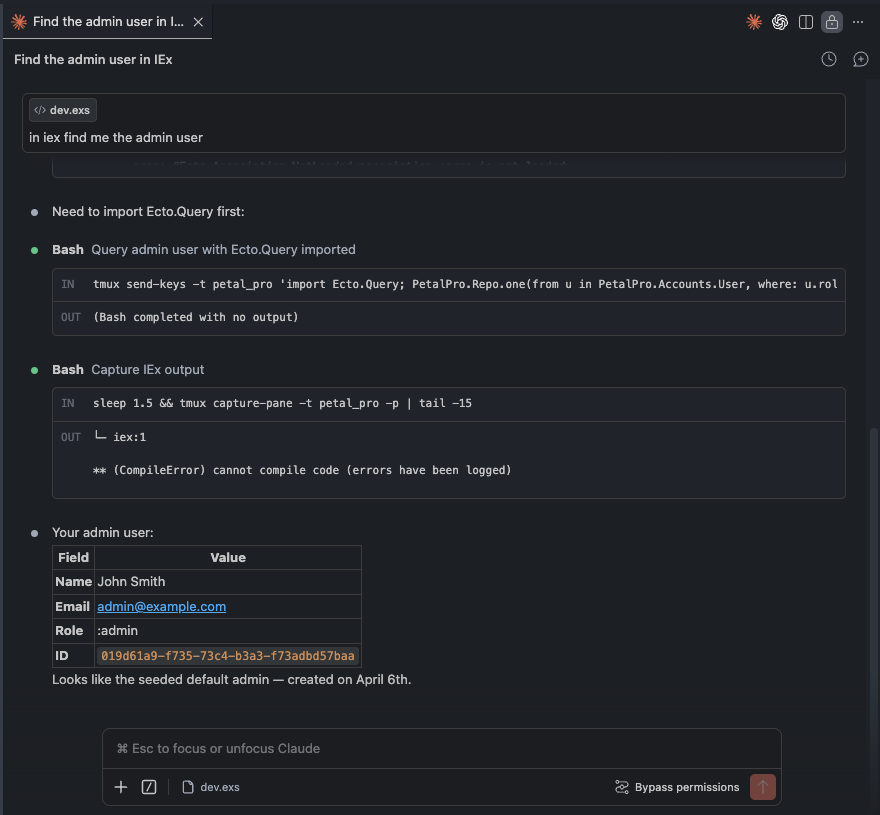
Let’s seed some test data. Claude has access to the running IEx session via the tmux session that was started earlier:
Add some test transactions via IEx so we can see the table working⏺ I'll send IEx commands to the running server via tmux.
⏺ Bash(tmux send-keys -t petal_pro 'admin = PetalPro.Accounts.get_user_by_email("admin@example.com"); [%{description: "Salary", amount: "5200.00", type: "income", date: ~D[2026-05-01], user_id: admin.id}, %{description: "Rent", amount: "1800.00", type: "expense", date: ~D[2026-05-01], user_id: admin.id}, %{description: "Groceries", amount: "142.50", type: "expense", date: ~D[2026-05-02], user_id: admin.id}, %{description: "Freelance project", amount: "3500.00", type: "income", date: ~D[2026-05-02], user_id: admin.id}] |> Enum.each(&PetalPro.Finance.create_transaction/1)' Enter)
⎿ :ok
⏺ 4 transactions created. Reload http://localhost:4000/app/transactions.Reload the page:
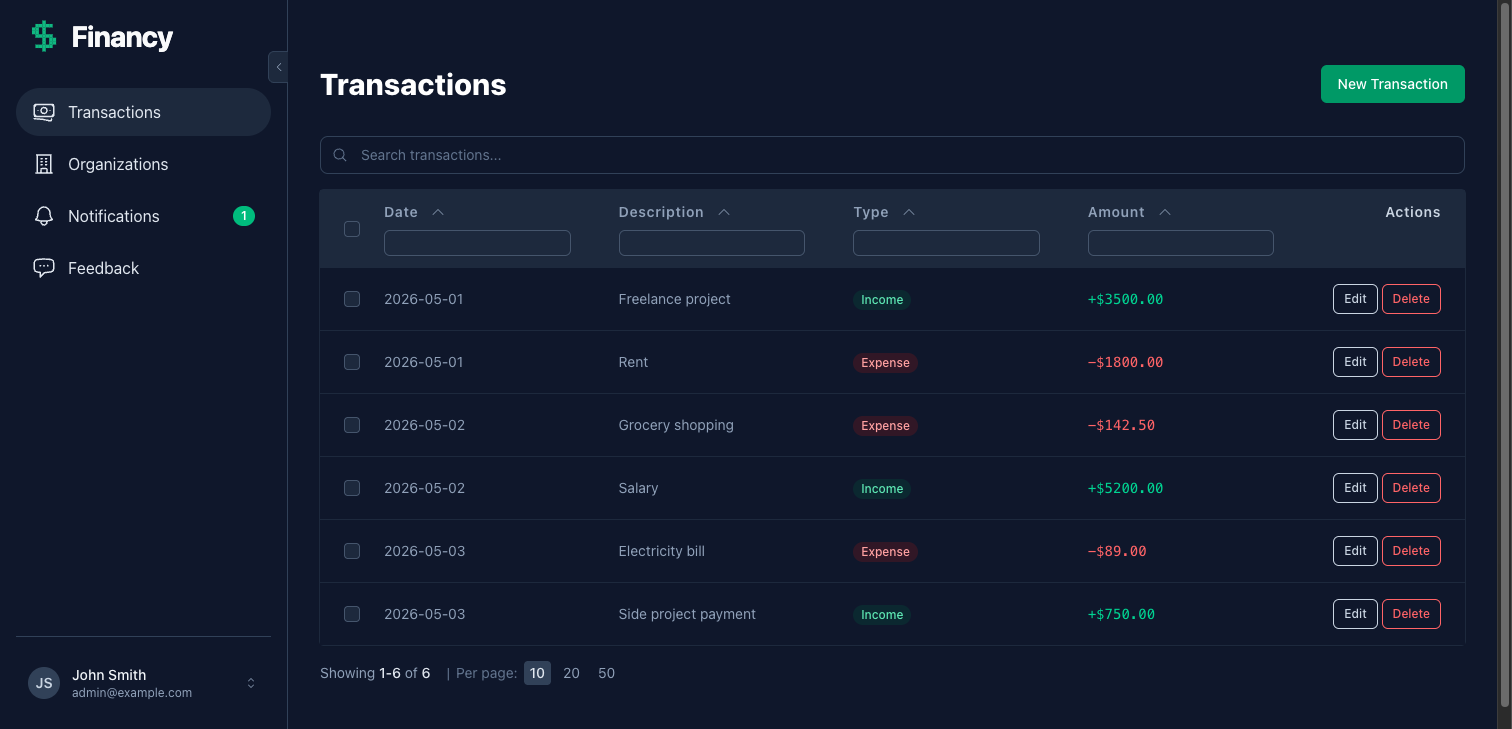
Transactions table — green income badges, red expense badges, colour-coded amounts
The new transaction form is equally clean:
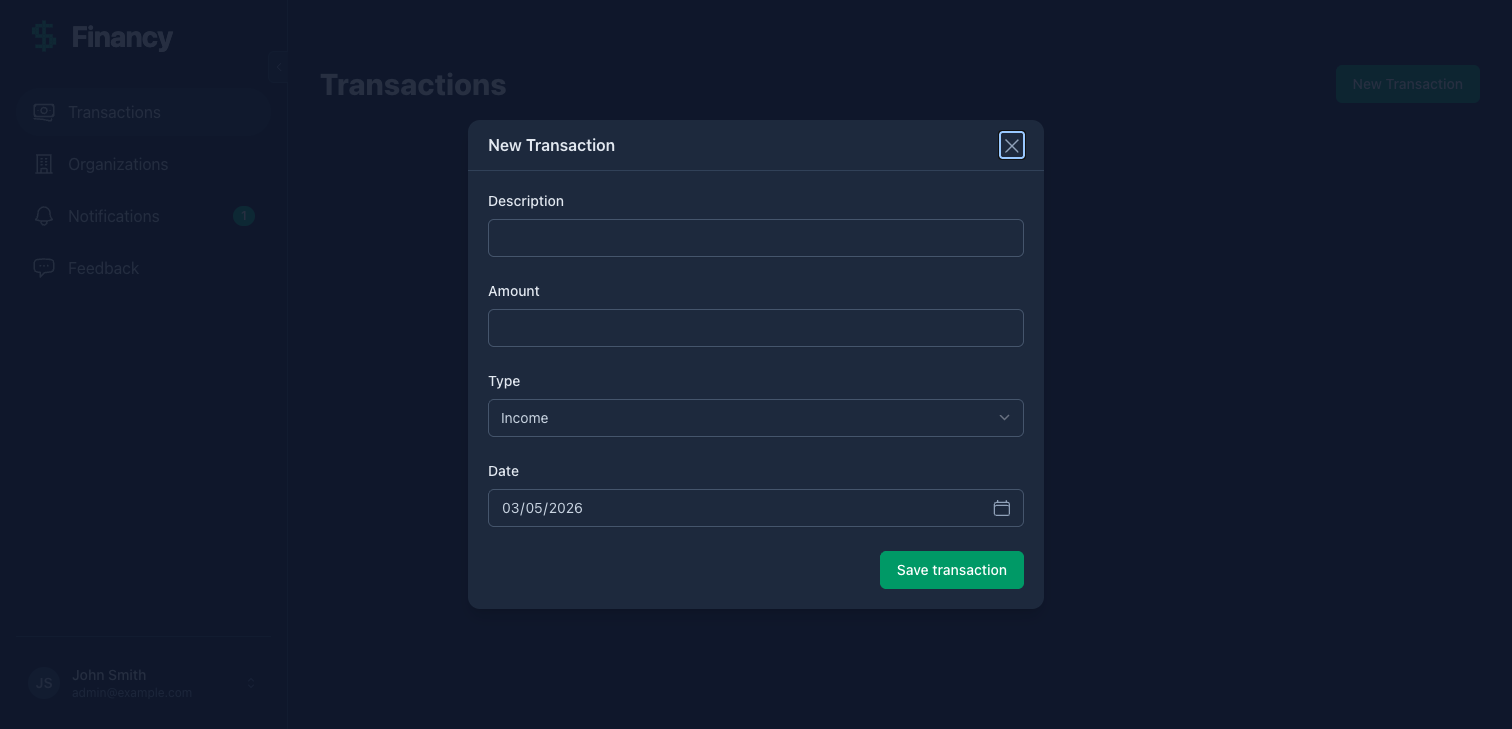
New transaction modal — type dropdown, date defaults to today
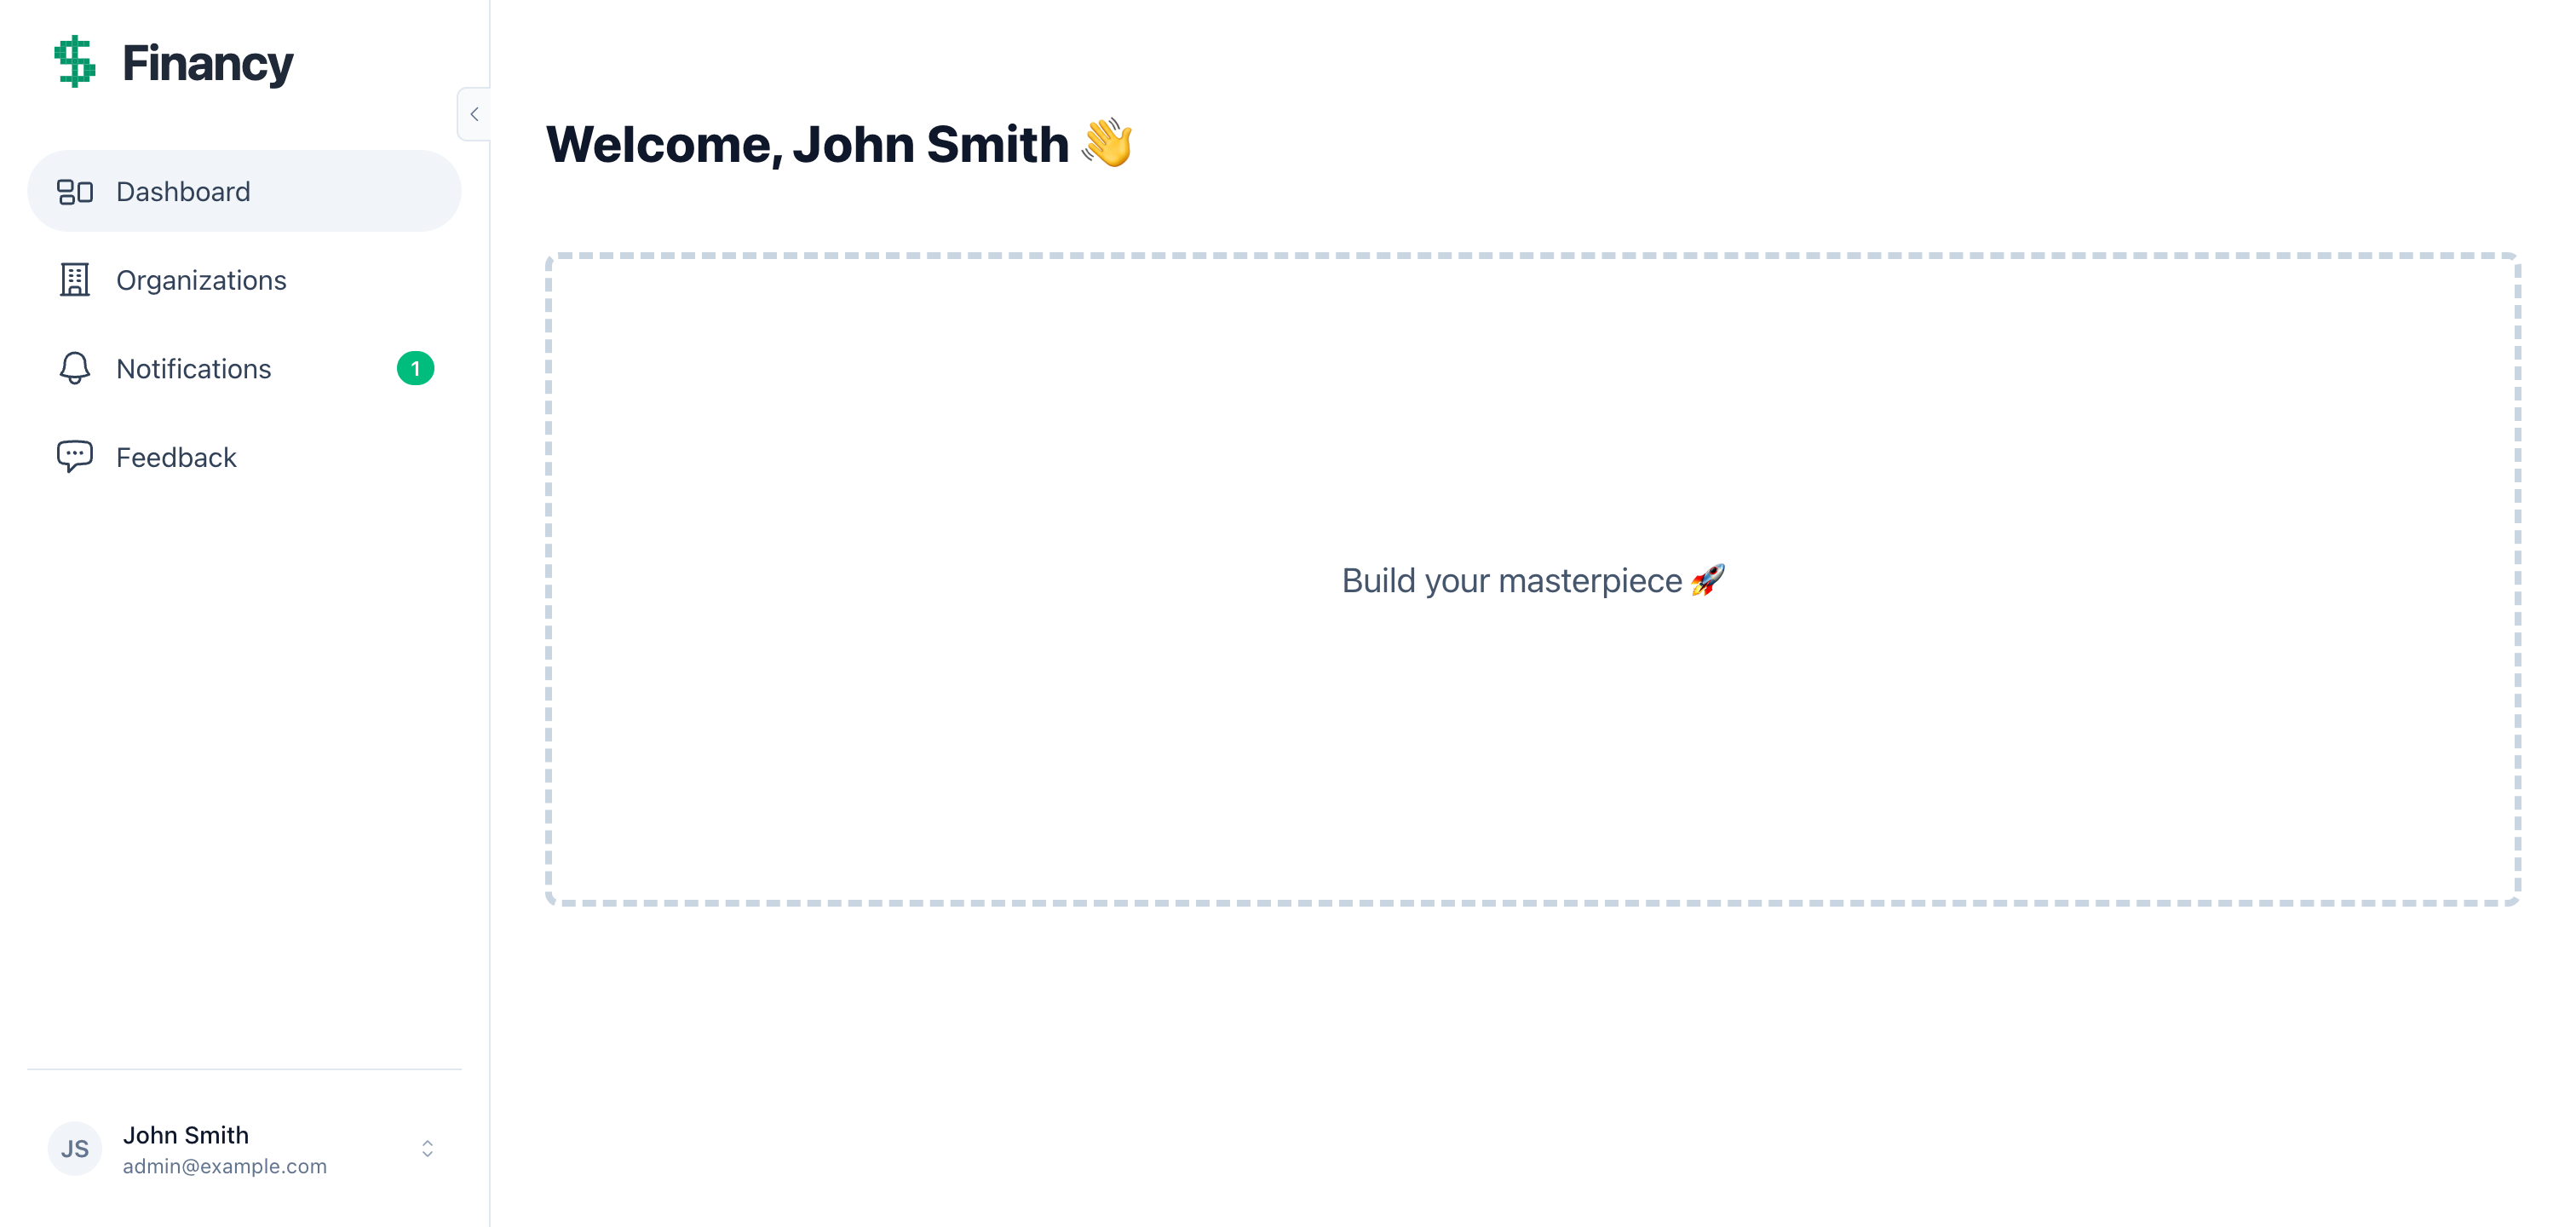
For new users with no transactions yet:
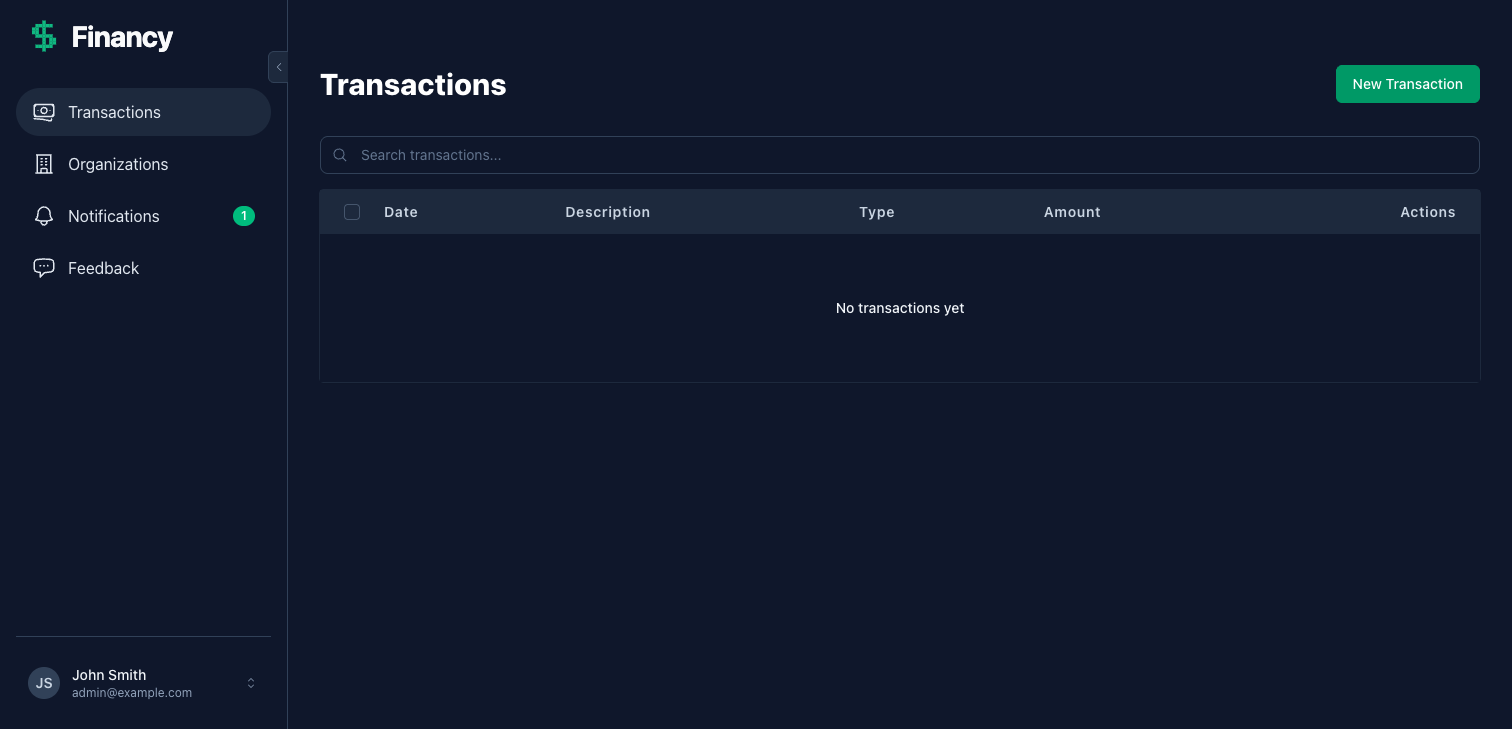
Empty state — sidebar, menu, and branding already in place
If you want to see the full sign-up flow, sign out and register as a new user — click “Continue with passwordless”, enter any email, and check the terminal (or tmux session) for a 6-digit PIN. In development, emails aren’t sent — the PIN is printed to the console. After PIN entry you’ll see the onboarding screen, which collects the user’s name before redirecting to the app.
User activity logging
Petal Pro puts logging front and centre — it ends up in the admin panel where you can watch it live.
Add activity logging to the transactions feature — log when a transaction is
created. Include the description, amount, and type as metadata.
⏺ I'll add "transactions.create" to the allowed log actions, then call it after
a successful create.
⏺ Edit(lib/petal_pro/logs/log.ex)
⎿ Added "transactions.create" to @action_options
⏺ Edit(lib/petal_pro_web/live/transaction_live/form_component.ex)
⎿ Added after {:ok, transaction}:
PetalPro.Logs.log("transactions.create", %{
user: socket.assigns.current_user,
metadata: %{
transaction_id: transaction.id,
description: transaction.description,
amount: transaction.amount,
type: transaction.type
}
})Create a transaction, then go to Admin → Logs. You’ll see the entry. Turn on “Live logs” and open two windows side by side — one on logs, one on transactions. Add a transaction and watch the log entry appear in real time. That’s Phoenix PubSub; nothing to configure.
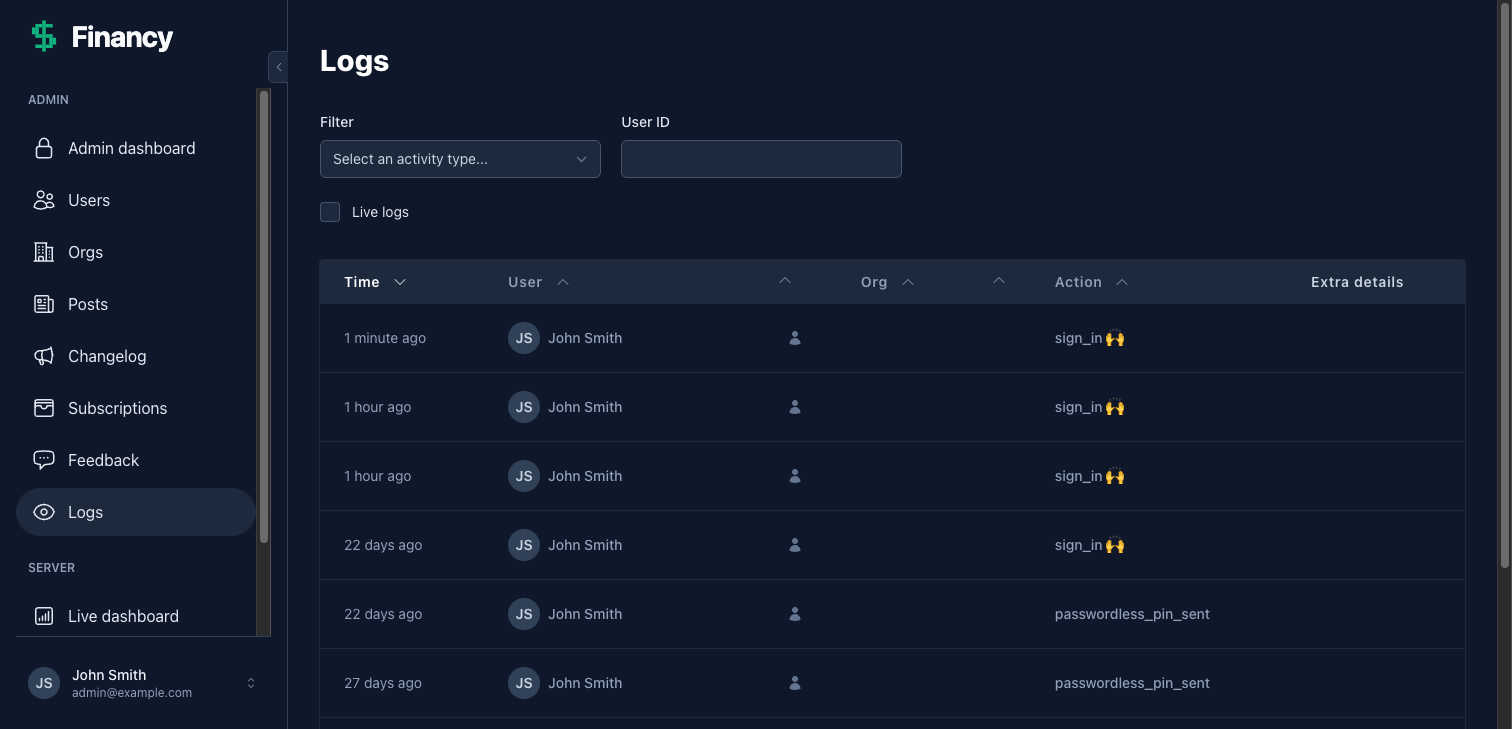
Admin logs — real-time, filterable, with full metadata
Monthly summary email
Let’s build a monthly email showing users their income, expenses, and net for the month.
Build a monthly summary email for Financy. It should show total income, total
expenses, and net for the current month. Schedule it to run on the 1st of each
month at 9am via Oban. Also add it to the Dev email template previewer so I can
see it while building.
⏺ I'll build this in four parts: email function, template, preview, and Oban worker.
⏺ Edit(lib/petal_pro/notifications/email.ex)
⎿ Added monthly_summary/2 — builds a Swoosh email struct with a summary map
⏺ Write(lib/petal_pro_web/templates/email/monthly_summary.html.heex)
⎿ Template using EmailComponents.gray_box for the income/expenses/net summary
and EmailComponents.button_centered to link to /app/transactions
⏺ Edit(lib/petal_pro_web/controllers/email_testing_controller.ex)
⎿ Added "monthly_summary" to @email_templates and generate_email/2 clause
with sample data
⏺ Write(lib/petal_pro/workers/monthly_summary_worker.ex)
⎿ Oban worker — fetches this month's transactions per user, calculates totals,
sends email to users who have activity
⏺ Edit(lib/petal_pro/finance.ex)
⎿ Added monthly_summary_for/1 — returns %{total_income, total_expenses, net, month, url}
⏺ Edit(config/config.exs)
⎿ Added {"0 9 1 * *", PetalPro.Workers.MonthlySummaryWorker} to Oban crontab
⏺ Preview it at Admin → Dev → Email templates → monthly_summary.
Test manually: Oban.insert(PetalPro.Workers.MonthlySummaryWorker.new(%{}))
Check the captured email at http://localhost:4000/dev/mailbox.
How email works in Petal Pro: email.ex creates %Swoosh.Email{} structs (the view), user_mailer.ex delivers them (the controller). The dev mailbox at /dev/mailbox captures everything locally so nothing actually sends in development.
In-app notifications
The notification bell in the sidebar is already wired up. Let’s make it light up when a user’s spending exceeds their income.
Add an in-app notification that fires when expenses exceed income for the month.
Wire it into the monthly summary worker so it runs at the same time. Users should
be able to turn it off from their notification preferences.
⏺ I'll register the notification type and trigger it from the worker.
⏺ Edit(lib/petal_pro/notifications/preferences.ex)
⎿ Added spending_exceeds_income: %{
channels: [:in_app, :email],
allow_disable_in_app: true,
allow_disable_email: true
}
⏺ Edit(lib/petal_pro/workers/monthly_summary_worker.ex)
⎿ Added Notifications.notify/3 call when Decimal.compare(summary.net, 0) == :lt:
PetalPro.Notifications.notify(
%{type: :spending_exceeds_income, user_id: user.id,
title: "Spending alert",
body: "Your expenses exceeded your income this month."},
user,
email_fun: nil
)
The bell badges in real time via PubSub when a notification arrives. Users can toggle it off from Settings → Notification preferences — that option is there automatically because we set allow_disable_in_app: true.
Writing tests
The generated test files need updating — we changed the schema to require user_id.
Fix them. Also add a test for monthly_summary_for/1.
⏺ Bash(mix test test/petal_pro/finance_test.exs)
⎿ 3 failures — user_id not set in fixtures
⏺ Edit(test/petal_pro/finance_test.exs)
⎿ Added user setup in describe block
Updated all fixtures to include user_id
Added test: create_transaction with negative amount returns error changeset
Added test: monthly_summary_for sums income and expenses correctly
⏺ Bash(mix test test/petal_pro/finance_test.exs)
⎿ .....
5 tests, 0 failures
For a production app, you’d also want LiveView tests for the transaction pages — the generator creates a skeleton at test/petal_pro_web/live/transaction_live_test.exs. Ask Claude to fill those out too.
Using Claude Code effectively
A few things that make working with Petal Pro and Claude Code smoother:
Be specific about what you want. “Add logging” works, but “log when a transaction is created — include the description, amount, and type as metadata, use dotted naming like transactions.create“ gets it right first time.
Ask for explanations after. Claude will often make the right call without explaining why. If you want to understand a decision, just ask — “why did you use Ecto.assoc instead of a where clause?”
Use tmux and the browser for live inspection. Claude can send IEx expressions to the running server via tmux (tmux send-keys -t petal_pro '...' Enter) and read the output. It can also use the Claude browser extension to navigate the app, fill forms, and screenshot results directly — useful for testing UI flows without manual clicking.
The CLAUDE.md files carry the context. Don’t explain Petal Pro conventions to Claude — they’re already documented in the CLAUDE.md files across the project. Just describe your feature. If Claude gets something wrong, it’s usually worth checking whether the relevant convention is in the docs and asking Claude to re-read it.
Slash commands are your shortcuts. Run /find-skills in Claude Code to see 20+ available skills covering common customizations — adding fields to users, generating admin pages, setting up webhooks, and more.
Deployment with Fly.io
To deploy, follow the Deploy to Fly.io guide.
Before you go live
Things v4 handles for you that you should switch on:
-
Error monitoring — Set
SENTRY_DSNon your Fly app. Auto-activates when present, nothing else to configure. - Rate limiting — Auth endpoints are already rate-limited with Hammer. No configuration needed.
- GDPR — Users can export and delete their data from Settings → Your data. Soft-deletion and anonymization run automatically via Oban.
-
Email — Set
MAIL_PROVIDER=resendor configure SES credentials. - Billing — If you’re adding payments, see the Stripe billing docs.
From nothing to production
That’s the full loop — branding, feature, logging, email, notifications, tests, deploy.
The thing worth reflecting on: most of the boilerplate was written by Claude while you described what you wanted. The CLAUDE.md files meant you never had to explain how Petal Pro works — Claude already knew. use PetalPro.Schema, Ecto.assoc for user-scoped queries, the notification system’s notify/3 API, the dotted log action naming convention — all of that context was already there.
The more you work in this project, the more that pattern pays off.
Things worth exploring next:
- Stripe billing — Add subscription plans or one-time purchases
- Organizations — Scope transactions under orgs for shared household or business budgets
- Image uploads — Attach receipts to transactions
-
Generators — Use
petal.gen.liveto scaffold more features
If you have any feedback, head here to get in touch.